This is the 17th installment in guest blogger Frank Klepacki’s series on music production. Today Frank provides tips for recording drums. If you missed Frank’s previous post, you can read it here.
 As a producer/engineer who also happens to be a professional drummer, one of my pet peeves is hearing album recordings that have had the acoustic drum tracks replaced by acoustic drum samples. I often wonder, was it laziness? Could they just not get a good sound out of the live kit? Is it that a new generation of producers/engineers is being taught to just do that from the start, rather than taught how to make the best of the live instrument? The value of learning how to do this the right way is important. How do you think those replacement samples got recorded in the first place? I understand that sample replacement is a nice option to have if you absolutely cannot make the track work, but in my mind it should be a last resort, rather than being automatically abused, such as the whole auto-tune thing.
For decades we’ve been told about the same old “industry-standard,” go-to dynamic mics to use on drums – but it’s because that’s what was best “back then.” It is important as engineers that we be open to newer options, and it’s important for new up-and-comers to know what else is out there, and more importantly what it sounds like. Technology gets better and more diverse as time goes on, so why continue to limit ourselves to choices that were being made decades ago? In my never-ending quest for “is it better or just different,” as of mid-2014, I found myself in the unique position of using all condenser mics on the drum kit in the studio!
My general methodology is to work smarter not harder. Capture as close to the ideal sound you want straight from the mics into the pres and interface without doing anything else. This can be a challenge. However, if you have the right mics, a good drum kit, and good drummer, then you don’t have to worry about sculpting EQ to death or about sample replacement. There is a quality in an authentically well-recorded drum sound that cannot be faked. There is unique character to be had in every kit, drummer, and drum tone when captured successfully. Before you set up all your mics, use your ears as best you can and listen to the source.
THE DRUM KIT: First of all, make sure the natural sound of the drum kit is pleasing right in front of you before you even put one mic up. Make sure it has new heads, and make sure it’s tuned properly. If you’re not sure what drum kit to get, I recommend a DW. In my entire career I’ve never played or recorded a bad DW kit. As long as it’s tuned properly and has good heads you cannot go wrong. If it’s not in your price range, then consider their lower line of PDP drums.
DRUM HEADS: If you’re not sure what drum heads to use, I recommend Aquarian. Texture coated on the snare, Response 2s on the toms, and a Superkick 2 on the kick. If I want the toms to be ever-so-slightly muffled I will put a piece of duct tape off to one side or both sides, and if it’s a larger drum, usually 16" or 18", I’ll also consider using a Performance II head. I don’t like using rings, as you will hear them rattle a bit on the heads when they are played.
THE DRUMMER: The way the drums are played will also make a difference, so having a good drummer who is aware of the consistency in how hard he hits will also be a contributing factor. When you like what you hear right in front of you, then put up the mics!
KICK: ATM250DE placed inside the kick. With traditional dynamic mics, you often have to really shape the EQ to get it to sound how you want. This happens to be a “2-in-one” mic, with both a condenser and a dynamic element, so you can choose your preferred element or mix them both together as you desire. My own preference is to feature the condenser element for more of the beater smack. There is ample low-mid punch in both elements as well. In a mix, I tend to back that off just a bit in favor of more attack. The tone of the kick will determine which way you prefer, as well as the positioning of the mic.
SNARE: ATM350. When I was introduced to this mic, I thought it would be primarily useful for miking toms in tight places, but I found it to be equally awesome as a snare mic. I get the high-end crack and the beefy depth all at the same time, whereas the standard dynamic choices tend to focus more on mid-range with punch – the rest of the frequencies needing love after the fact. I know what my snare sounds like right in front of me and that’s the sound I want. With this mic, that’s the sound I get. Another gripe when recording a snare sometimes can be the frequency of bleed from the hi-hat. When you EQ the snare, you’re also EQing this hi-hat bleed and the sound can become unpleasant real quick, and then you’re gating and fighting it. The ATM350 has a natural and pleasant frequency range in the higher end already, so you’re not worried about putting it in later. And even if you do add a little, it won’t compromise the tone due to bleed. For the bottom snare mic, a condenser such as the AT4041 works nicely. Personally, I find that I don’t really need to use a bottom snare mic much in the mix, except for some cases if a snare is very dark sounding – but it’s good to have the flexibility to help fill it out either way.
We’ll discuss toms, cymbals and room mics in Part 2.
- Frank Klepacki
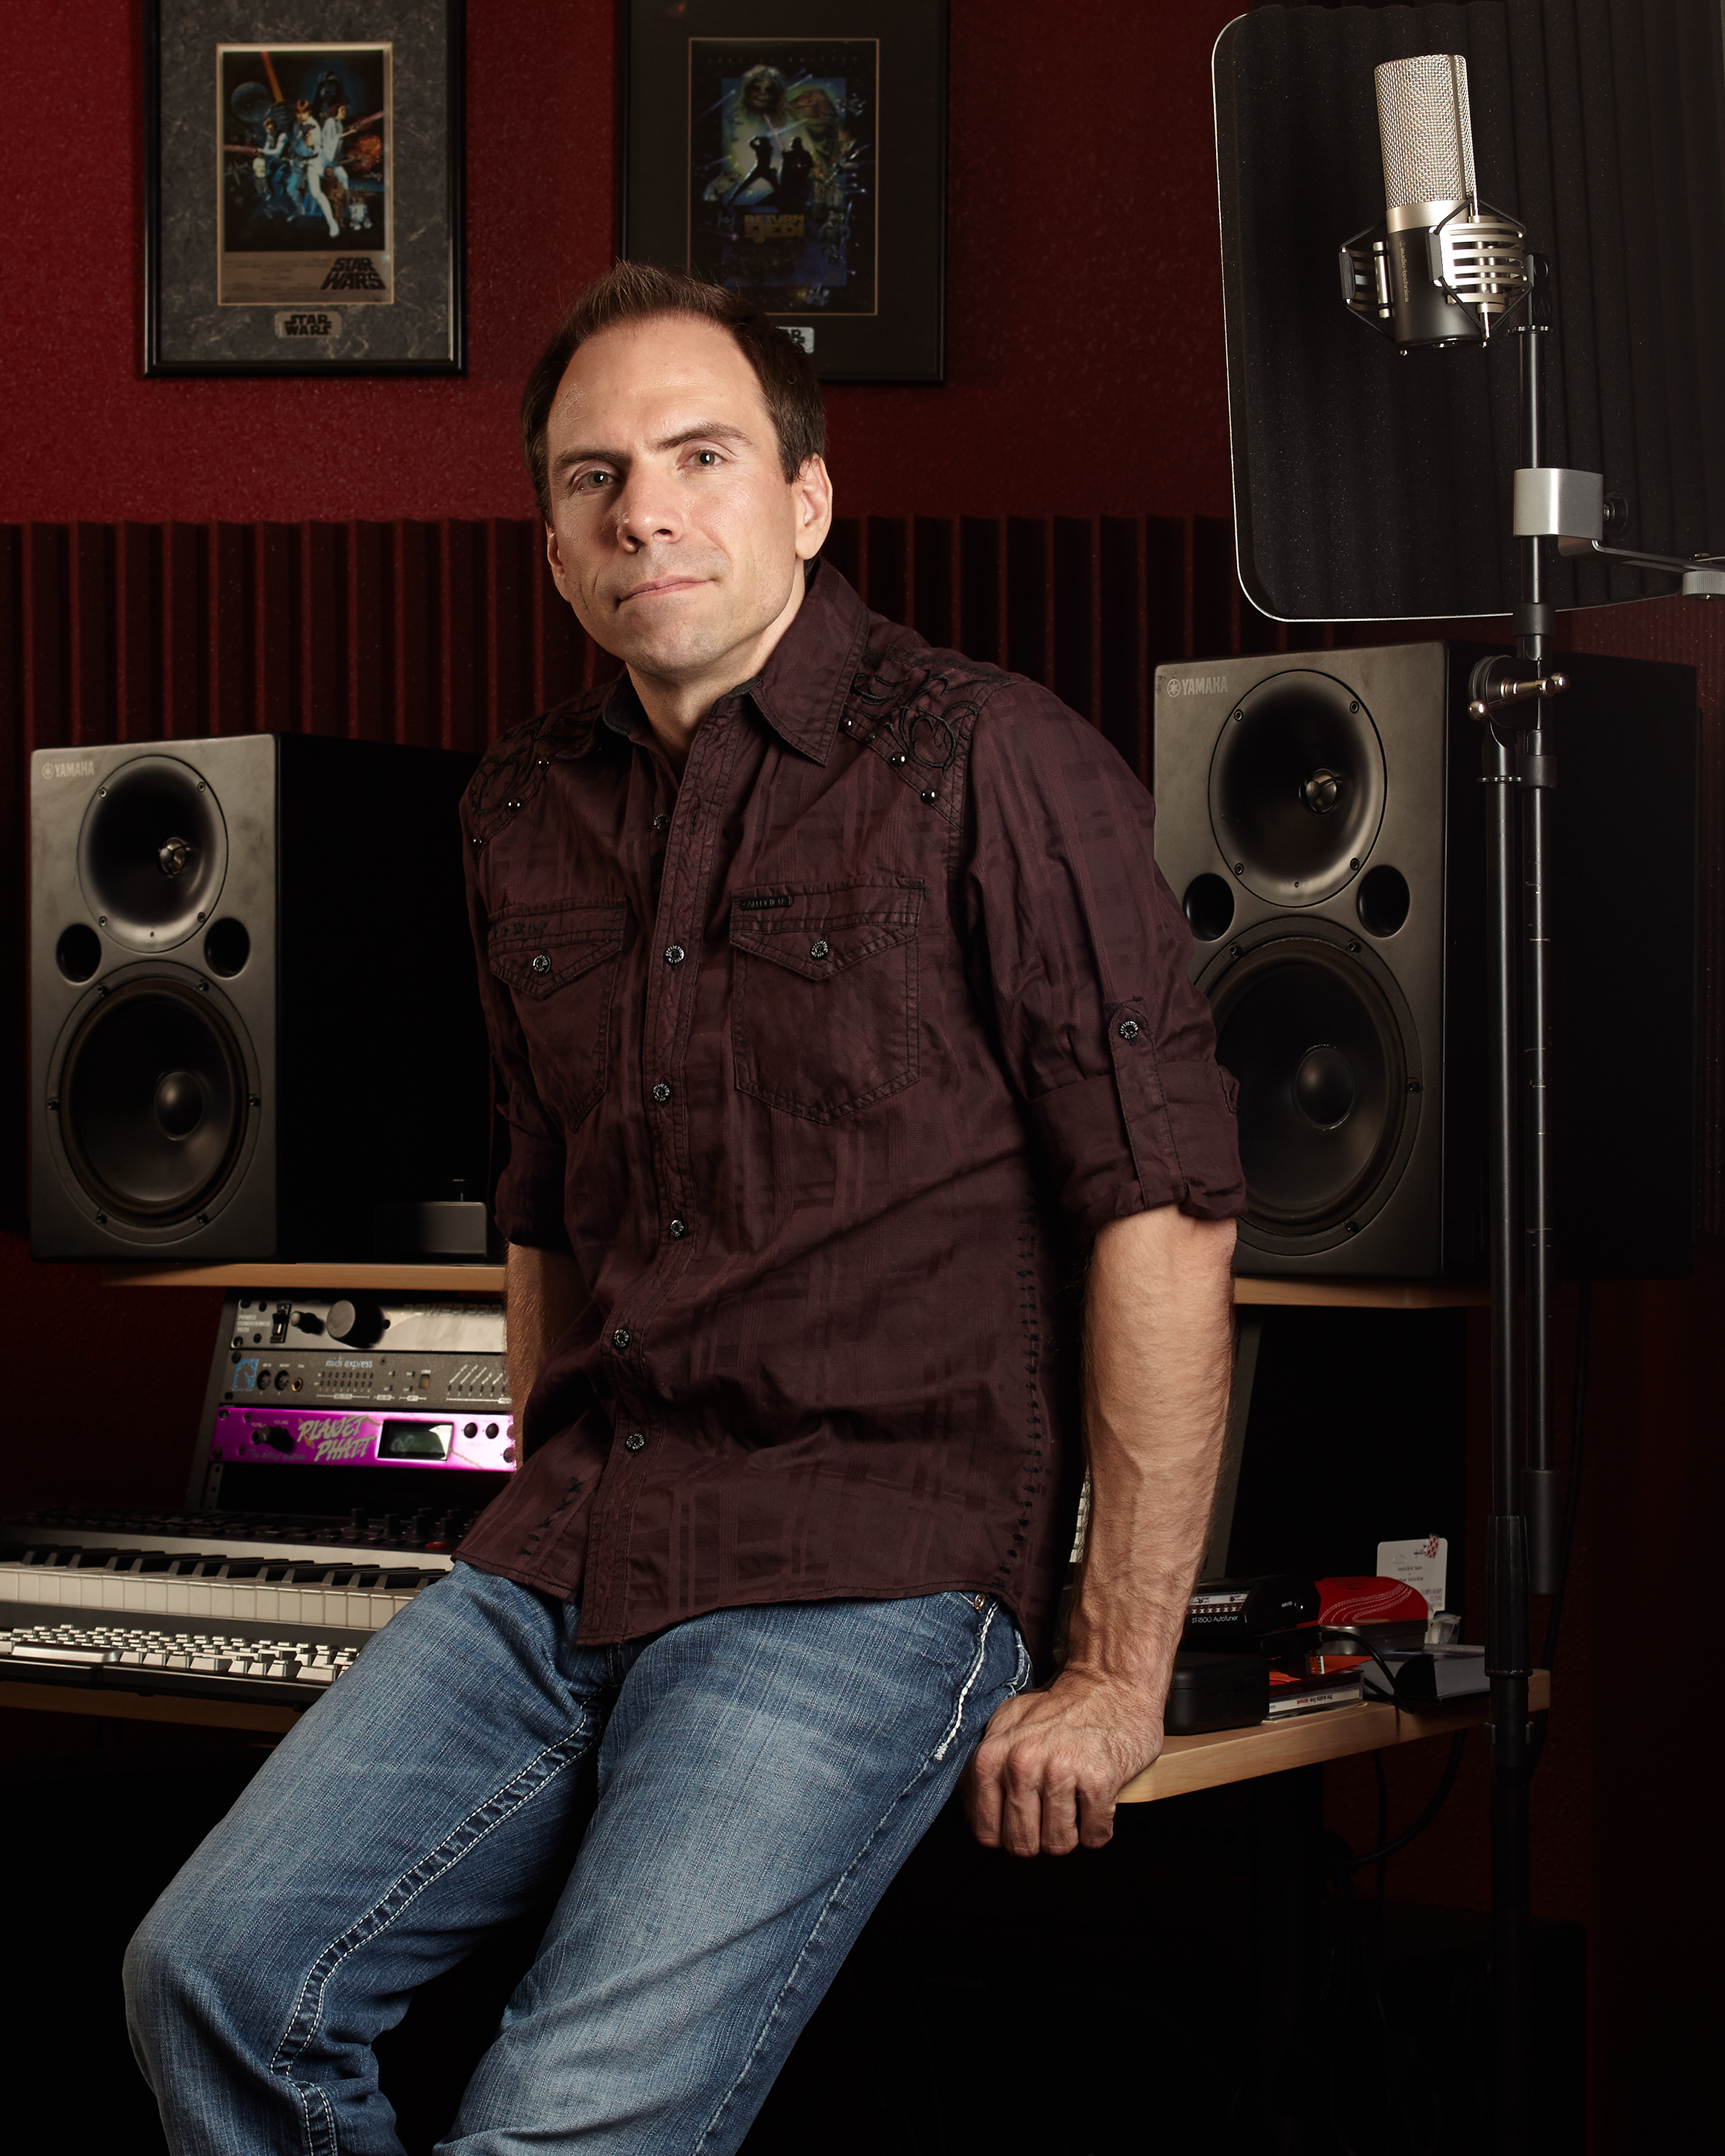
Frank Klepacki is an award-winning composer for video games and television for such titles as Command & Conquer, Star Wars: Empire at War, and MMA sports programs such as Ultimate Fighting Championship and Inside MMA. He resides as audio director for Petroglyph, in addition to being a recording artist, touring performer, and producer. For more info, visit www.frankklepacki.com
Follow Frank on Facebook: http://www.facebook.com/frankklepacki
Follow Frank on Twitter: http://twitter.com/frankklepacki
As a producer/engineer who also happens to be a professional drummer, one of my pet peeves is hearing album recordings that have had the acoustic drum tracks replaced by acoustic drum samples. I often wonder, was it laziness? Could they just not get a good sound out of the live kit? Is it that a new generation of producers/engineers is being taught to just do that from the start, rather than taught how to make the best of the live instrument? The value of learning how to do this the right way is important. How do you think those replacement samples got recorded in the first place? I understand that sample replacement is a nice option to have if you absolutely cannot make the track work, but in my mind it should be a last resort, rather than being automatically abused, such as the whole auto-tune thing.
For decades we’ve been told about the same old “industry-standard,” go-to dynamic mics to use on drums – but it’s because that’s what was best “back then.” It is important as engineers that we be open to newer options, and it’s important for new up-and-comers to know what else is out there, and more importantly what it sounds like. Technology gets better and more diverse as time goes on, so why continue to limit ourselves to choices that were being made decades ago? In my never-ending quest for “is it better or just different,” as of mid-2014, I found myself in the unique position of using all condenser mics on the drum kit in the studio!
My general methodology is to work smarter not harder. Capture as close to the ideal sound you want straight from the mics into the pres and interface without doing anything else. This can be a challenge. However, if you have the right mics, a good drum kit, and good drummer, then you don’t have to worry about sculpting EQ to death or about sample replacement. There is a quality in an authentically well-recorded drum sound that cannot be faked. There is unique character to be had in every kit, drummer, and drum tone when captured successfully. Before you set up all your mics, use your ears as best you can and listen to the source.
THE DRUM KIT: First of all, make sure the natural sound of the drum kit is pleasing right in front of you before you even put one mic up. Make sure it has new heads, and make sure it’s tuned properly. If you’re not sure what drum kit to get, I recommend a DW. In my entire career I’ve never played or recorded a bad DW kit. As long as it’s tuned properly and has good heads you cannot go wrong. If it’s not in your price range, then consider their lower line of PDP drums.
DRUM HEADS: If you’re not sure what drum heads to use, I recommend Aquarian. Texture coated on the snare, Response 2s on the toms, and a Superkick 2 on the kick. If I want the toms to be ever-so-slightly muffled I will put a piece of duct tape off to one side or both sides, and if it’s a larger drum, usually 16" or 18", I’ll also consider using a Performance II head. I don’t like using rings, as you will hear them rattle a bit on the heads when they are played.
THE DRUMMER: The way the drums are played will also make a difference, so having a good drummer who is aware of the consistency in how hard he hits will also be a contributing factor. When you like what you hear right in front of you, then put up the mics!
KICK: ATM250DE placed inside the kick. With traditional dynamic mics, you often have to really shape the EQ to get it to sound how you want. This happens to be a “2-in-one” mic, with both a condenser and a dynamic element, so you can choose your preferred element or mix them both together as you desire. My own preference is to feature the condenser element for more of the beater smack. There is ample low-mid punch in both elements as well. In a mix, I tend to back that off just a bit in favor of more attack. The tone of the kick will determine which way you prefer, as well as the positioning of the mic.
SNARE: ATM350. When I was introduced to this mic, I thought it would be primarily useful for miking toms in tight places, but I found it to be equally awesome as a snare mic. I get the high-end crack and the beefy depth all at the same time, whereas the standard dynamic choices tend to focus more on mid-range with punch – the rest of the frequencies needing love after the fact. I know what my snare sounds like right in front of me and that’s the sound I want. With this mic, that’s the sound I get. Another gripe when recording a snare sometimes can be the frequency of bleed from the hi-hat. When you EQ the snare, you’re also EQing this hi-hat bleed and the sound can become unpleasant real quick, and then you’re gating and fighting it. The ATM350 has a natural and pleasant frequency range in the higher end already, so you’re not worried about putting it in later. And even if you do add a little, it won’t compromise the tone due to bleed. For the bottom snare mic, a condenser such as the AT4041 works nicely. Personally, I find that I don’t really need to use a bottom snare mic much in the mix, except for some cases if a snare is very dark sounding – but it’s good to have the flexibility to help fill it out either way.
We’ll discuss toms, cymbals and room mics in Part 2.
- Frank Klepacki
Frank Klepacki is an award-winning composer for video games and television for such titles as Command & Conquer, Star Wars: Empire at War, and MMA sports programs such as Ultimate Fighting Championship and Inside MMA. He resides as audio director for Petroglyph, in addition to being a recording artist, touring performer, and producer. For more info, visit www.frankklepacki.com
Follow Frank on Facebook: http://www.facebook.com/frankklepacki
Follow Frank on Twitter: http://twitter.com/frankklepacki
Published
26th February 2015