Published
7th February 2017
In this installment of our blog series on Basic Audio Techniques for Video, we’ll explain how to use a boompole. If you missed the previous installment exploring the basics of using a boom mic, you can read it here.
Since the earliest days of filmmaking, film crews have relied on mounting a microphone onto a boompole in order to properly position the microphone out of frame. In this post, we’ll be sharing some insider tips from professional boom operators.
Advantages of Booming
Overhead positioning gets the microphone closer to the actors rather than leaving the microphone mounted on the camera. It also reduces ambient sounds, as angling the microphone helps reject background noise while putting actual dialogue in the pickup zone.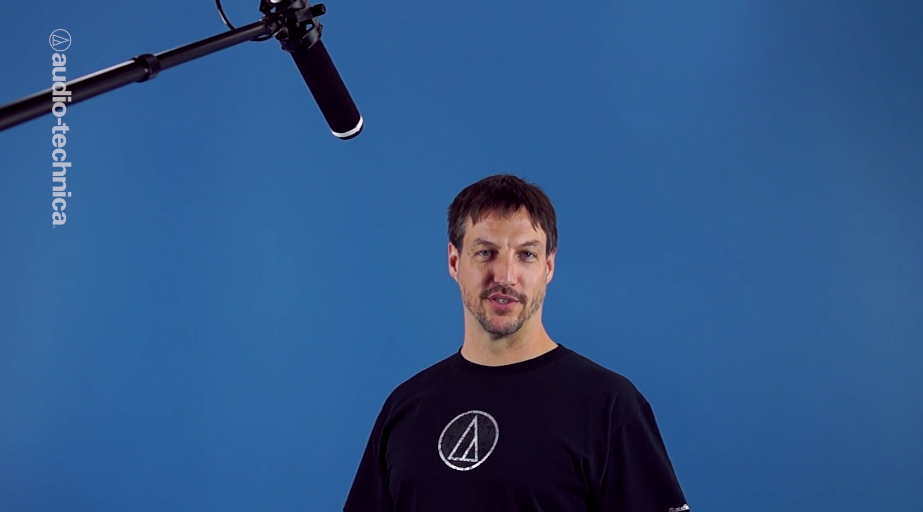
Prepping the Microphone
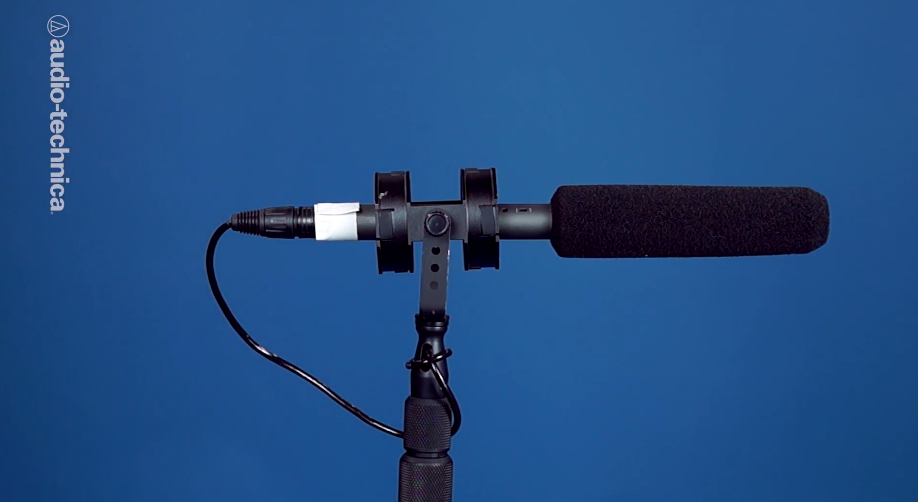
It’s important to use a good shock mount to isolate any handling noise from the boompole. When inserting the microphone into the mount, be sure to crisscross or over-under the horizontal bands. This ensures the microphone is securely supported. Once the microphone is properly inserted into the shock mount you can connect the audio cable. If needed, wrap the cable one half or full turn around the pole to prevent excess cable slack from knocking against the pole. Professional boom operators suggest placing a small piece of cloth camera tape where the mic plugs into the cable connector, as this helps avoid any mechanical clicking where the two metal pieces meet.
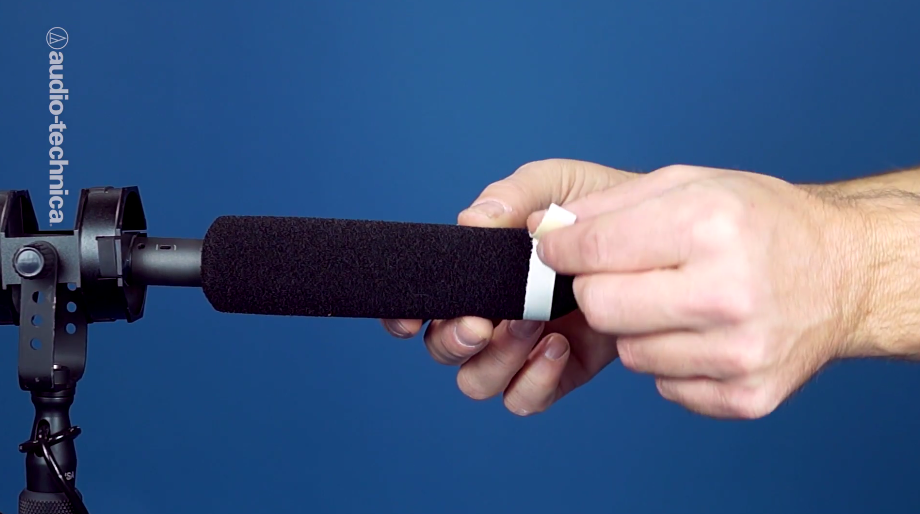
 You should also apply a thin strip of camera tape to the tip of your windscreen. Doing so allows the camera operator to easily locate the boom in their viewfinder, especially when shooting against a dark background.
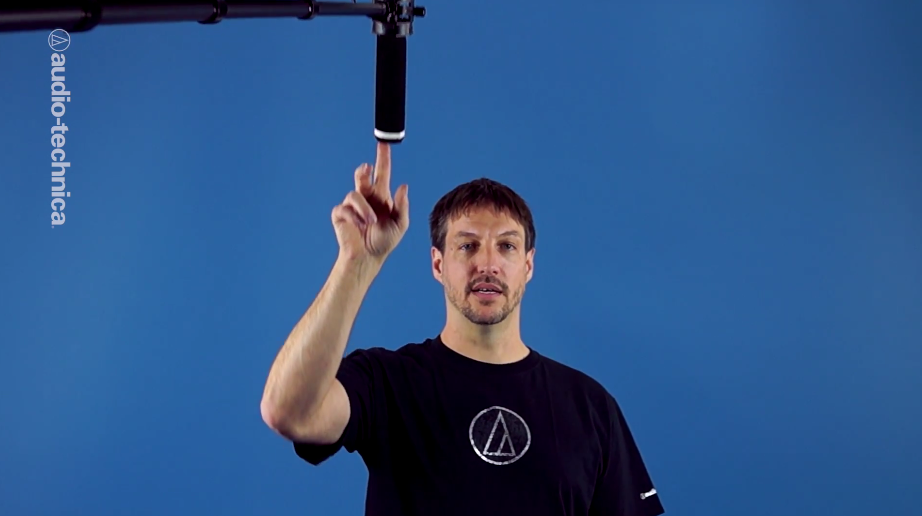
 Once you’ve prepped the boompole and microphone, it’s time to establish your frame line with the camera operator. An easy way to do this is to begin with the mic dipped completely in the frame. Then, gradually raise the microphone until it just clears the viewfinder. This gets you closer to the actors and eliminates the need to continually ask the camera operator to warn you about approaching the frame.
Booming Basics
When extending your boompole, first slide each section out as far as it will go, then bring it back in a few inches before tightening. This is important because each section will slightly overlap, allowing for two points of support – the end of the inner tubing and the locking collar of the outer pole. Be sure to not overtighten the pole. Otherwise, it will take unnecessary straining when the time comes to reloosen the pole for length adjustments.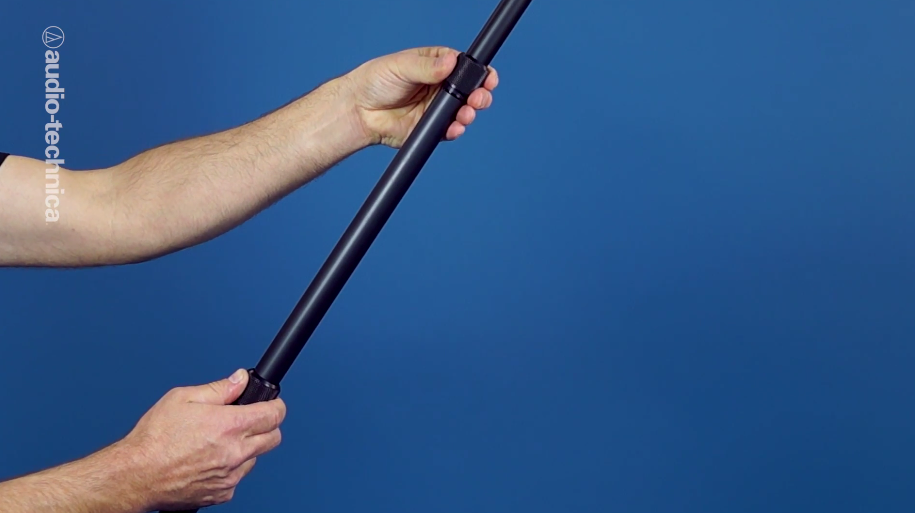 Hold the boompole completely over your head, allowing the mic to dip down slightly. Keep your front arm vertical, elbow locked and close to your head. This will serve as the supporting arm. If your supporting arm goes horizontal the pole will feel much heavier, leading to straining. Your rear arm acts as the steering and control arm, tilting and swinging the pole as needed. You can also make the boompole reach in and out by moving both arms together. Rotate the pole with your fingertips when aiming the mic between actors.
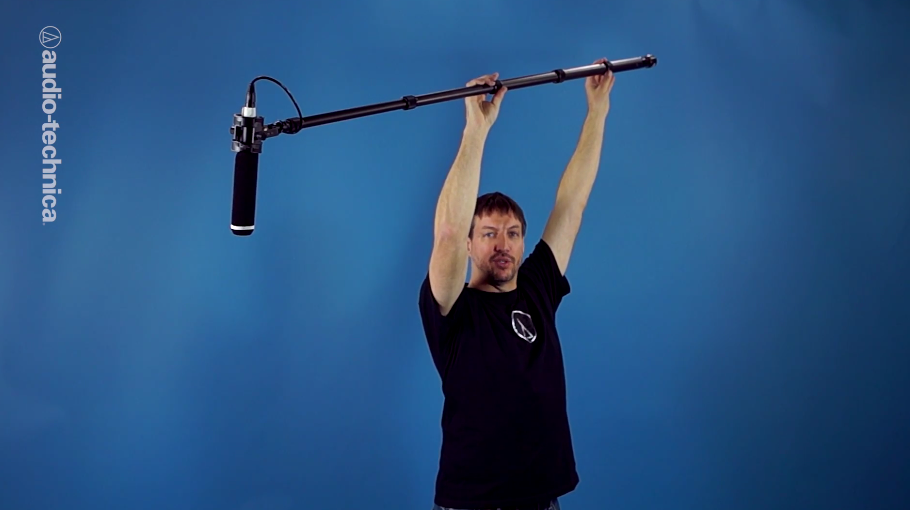
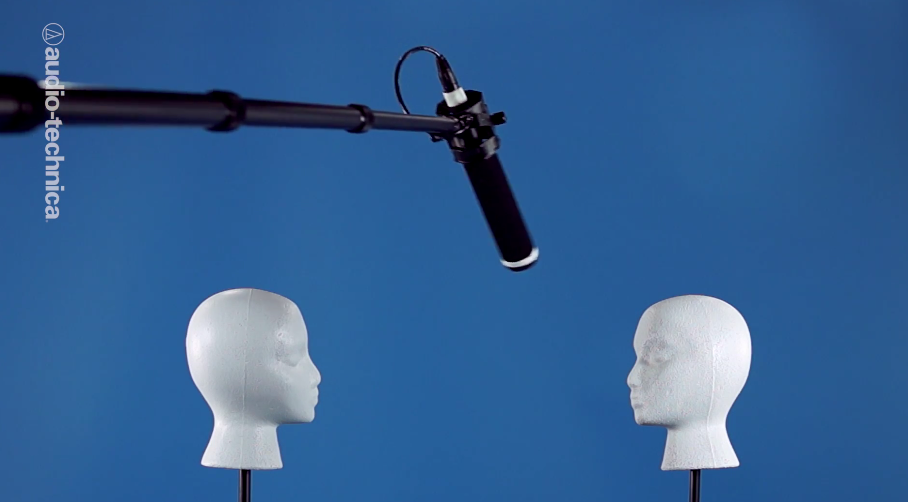
 It’s best to aim your microphone towards the actor’s nose – ideally at a slight angle; somewhere between 45 and 90 degrees. When there are two or more actors in a scene, you will need to move the pole between each actor, or find a single position that allows you to capture both equally well.
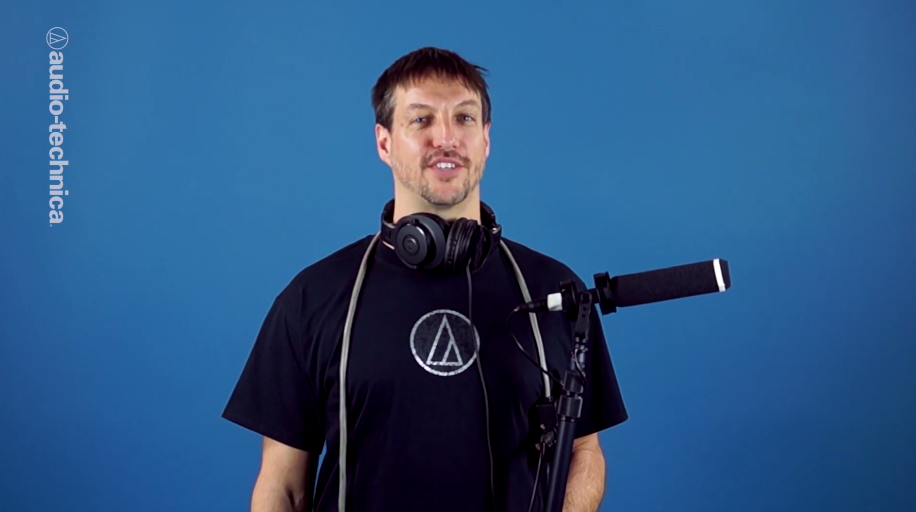
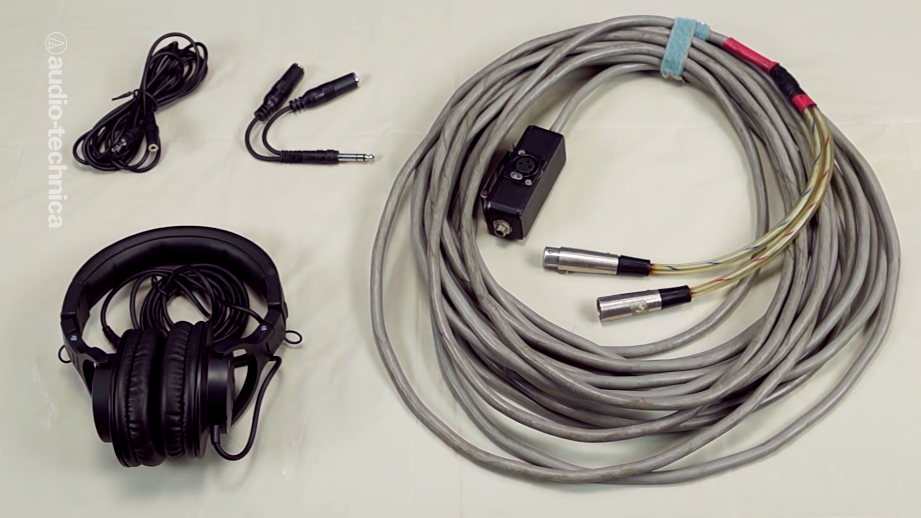
 Hearing the soundtrack through headphones is extremely helpful to the boom operator. Duplex cables are useful for this purpose, but you can also utilize a simple Y-splitter and headphone extension cable.
 Level Control
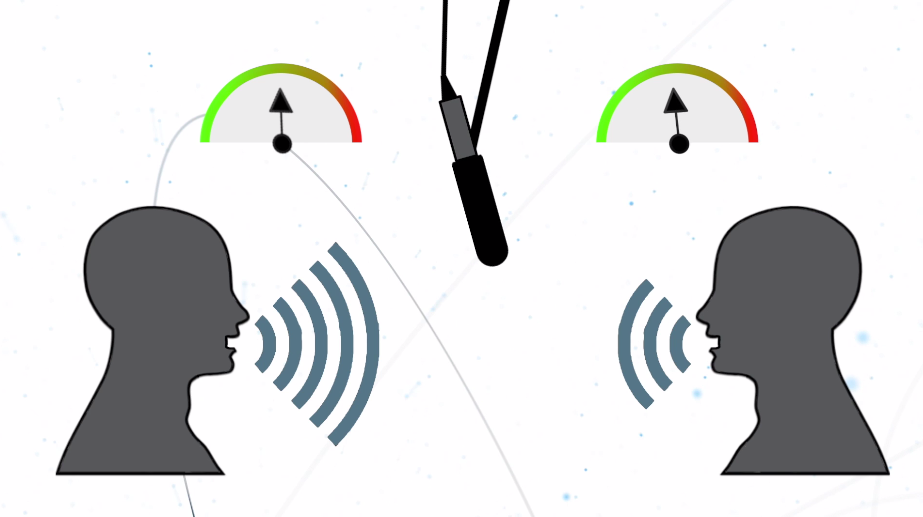
High-quality condenser shotgun microphones such as the BP4073 provide a smooth transition between on-axis response and off-axis side response. Referred to as being “flat off-axis,” these mics capture off-angle audio that still sounds good, just at a reduced volume. Sound mixers and their boom operators will often take advantage of this quality if they need to balance two actors speaking at different volumes. By placing the louder actor slightly off-axis, it lowers their volume compared to the actor who stays centered under the mic. The scene’s background sound remains constant because the recording volume does not need to be alternately increased and decreased.
Boom Techniques
Holding a boompole for an extended period of time can be tiring; luckily there are a few things you can do to make it easier. The first method is to extend your pole to almost the maximum length and move your grip closer to the center. This provides better balance and makes the pole not as front-heavy.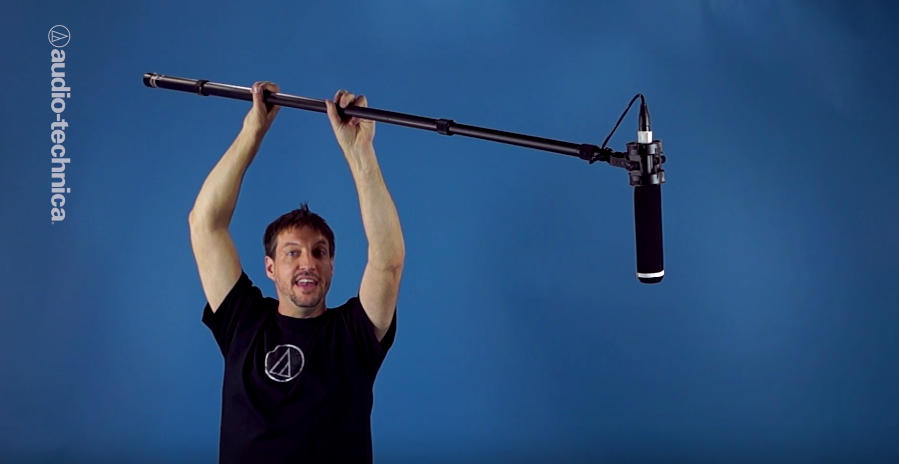
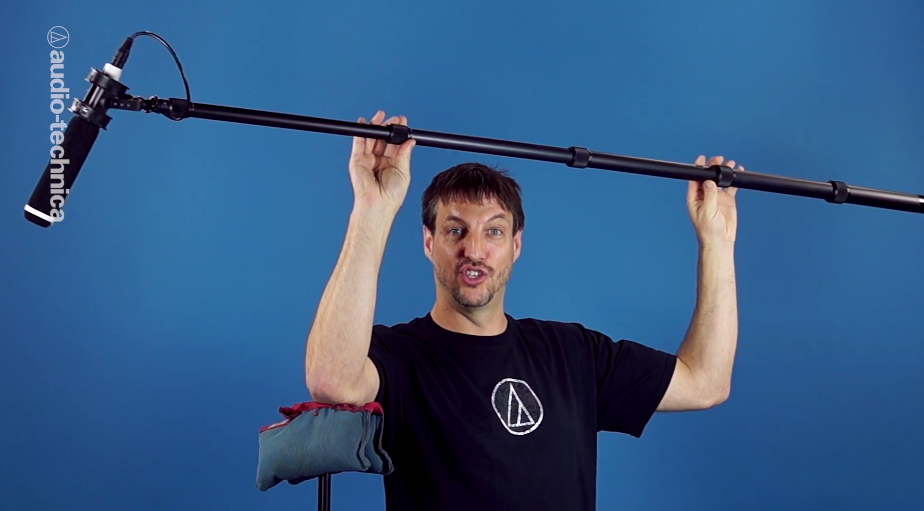 When booming an extremely long scene or interview, it is helpful to grab an unused stand to use as a support. Your instinct may be to rest the boompole on the stand, however it’s best to instead rest your elbow, taking the strain off your supporting arm.
These tips and tricks will help you boom like a pro!
When booming an extremely long scene or interview, it is helpful to grab an unused stand to use as a support. Your instinct may be to rest the boompole on the stand, however it’s best to instead rest your elbow, taking the strain off your supporting arm.
These tips and tricks will help you boom like a pro!